A Beginner’s Guide To Food Photography
Food photography has become something that is so dear to my heart. I started food photography in 2018 when I attended a Canon Food Photography Workshop and it sparked an interest in me. I’ve learned so much over the years and it is until 2020 that I have started investing in photography lessons and books.
When I started out, I was so clueless about everything. I thought photography was just about taking an image of your food, I did not know anything about lighting, composition, styling or story telling. I understand how as a beginner you may feel overwhelmed or not know where to start. This post is a beginner’s guide that will help simplify the basics of food photography and hopefully, you’ll feel confident to take food photography more seriously.
Basic Tips to The Beginners Guide To Food Photography
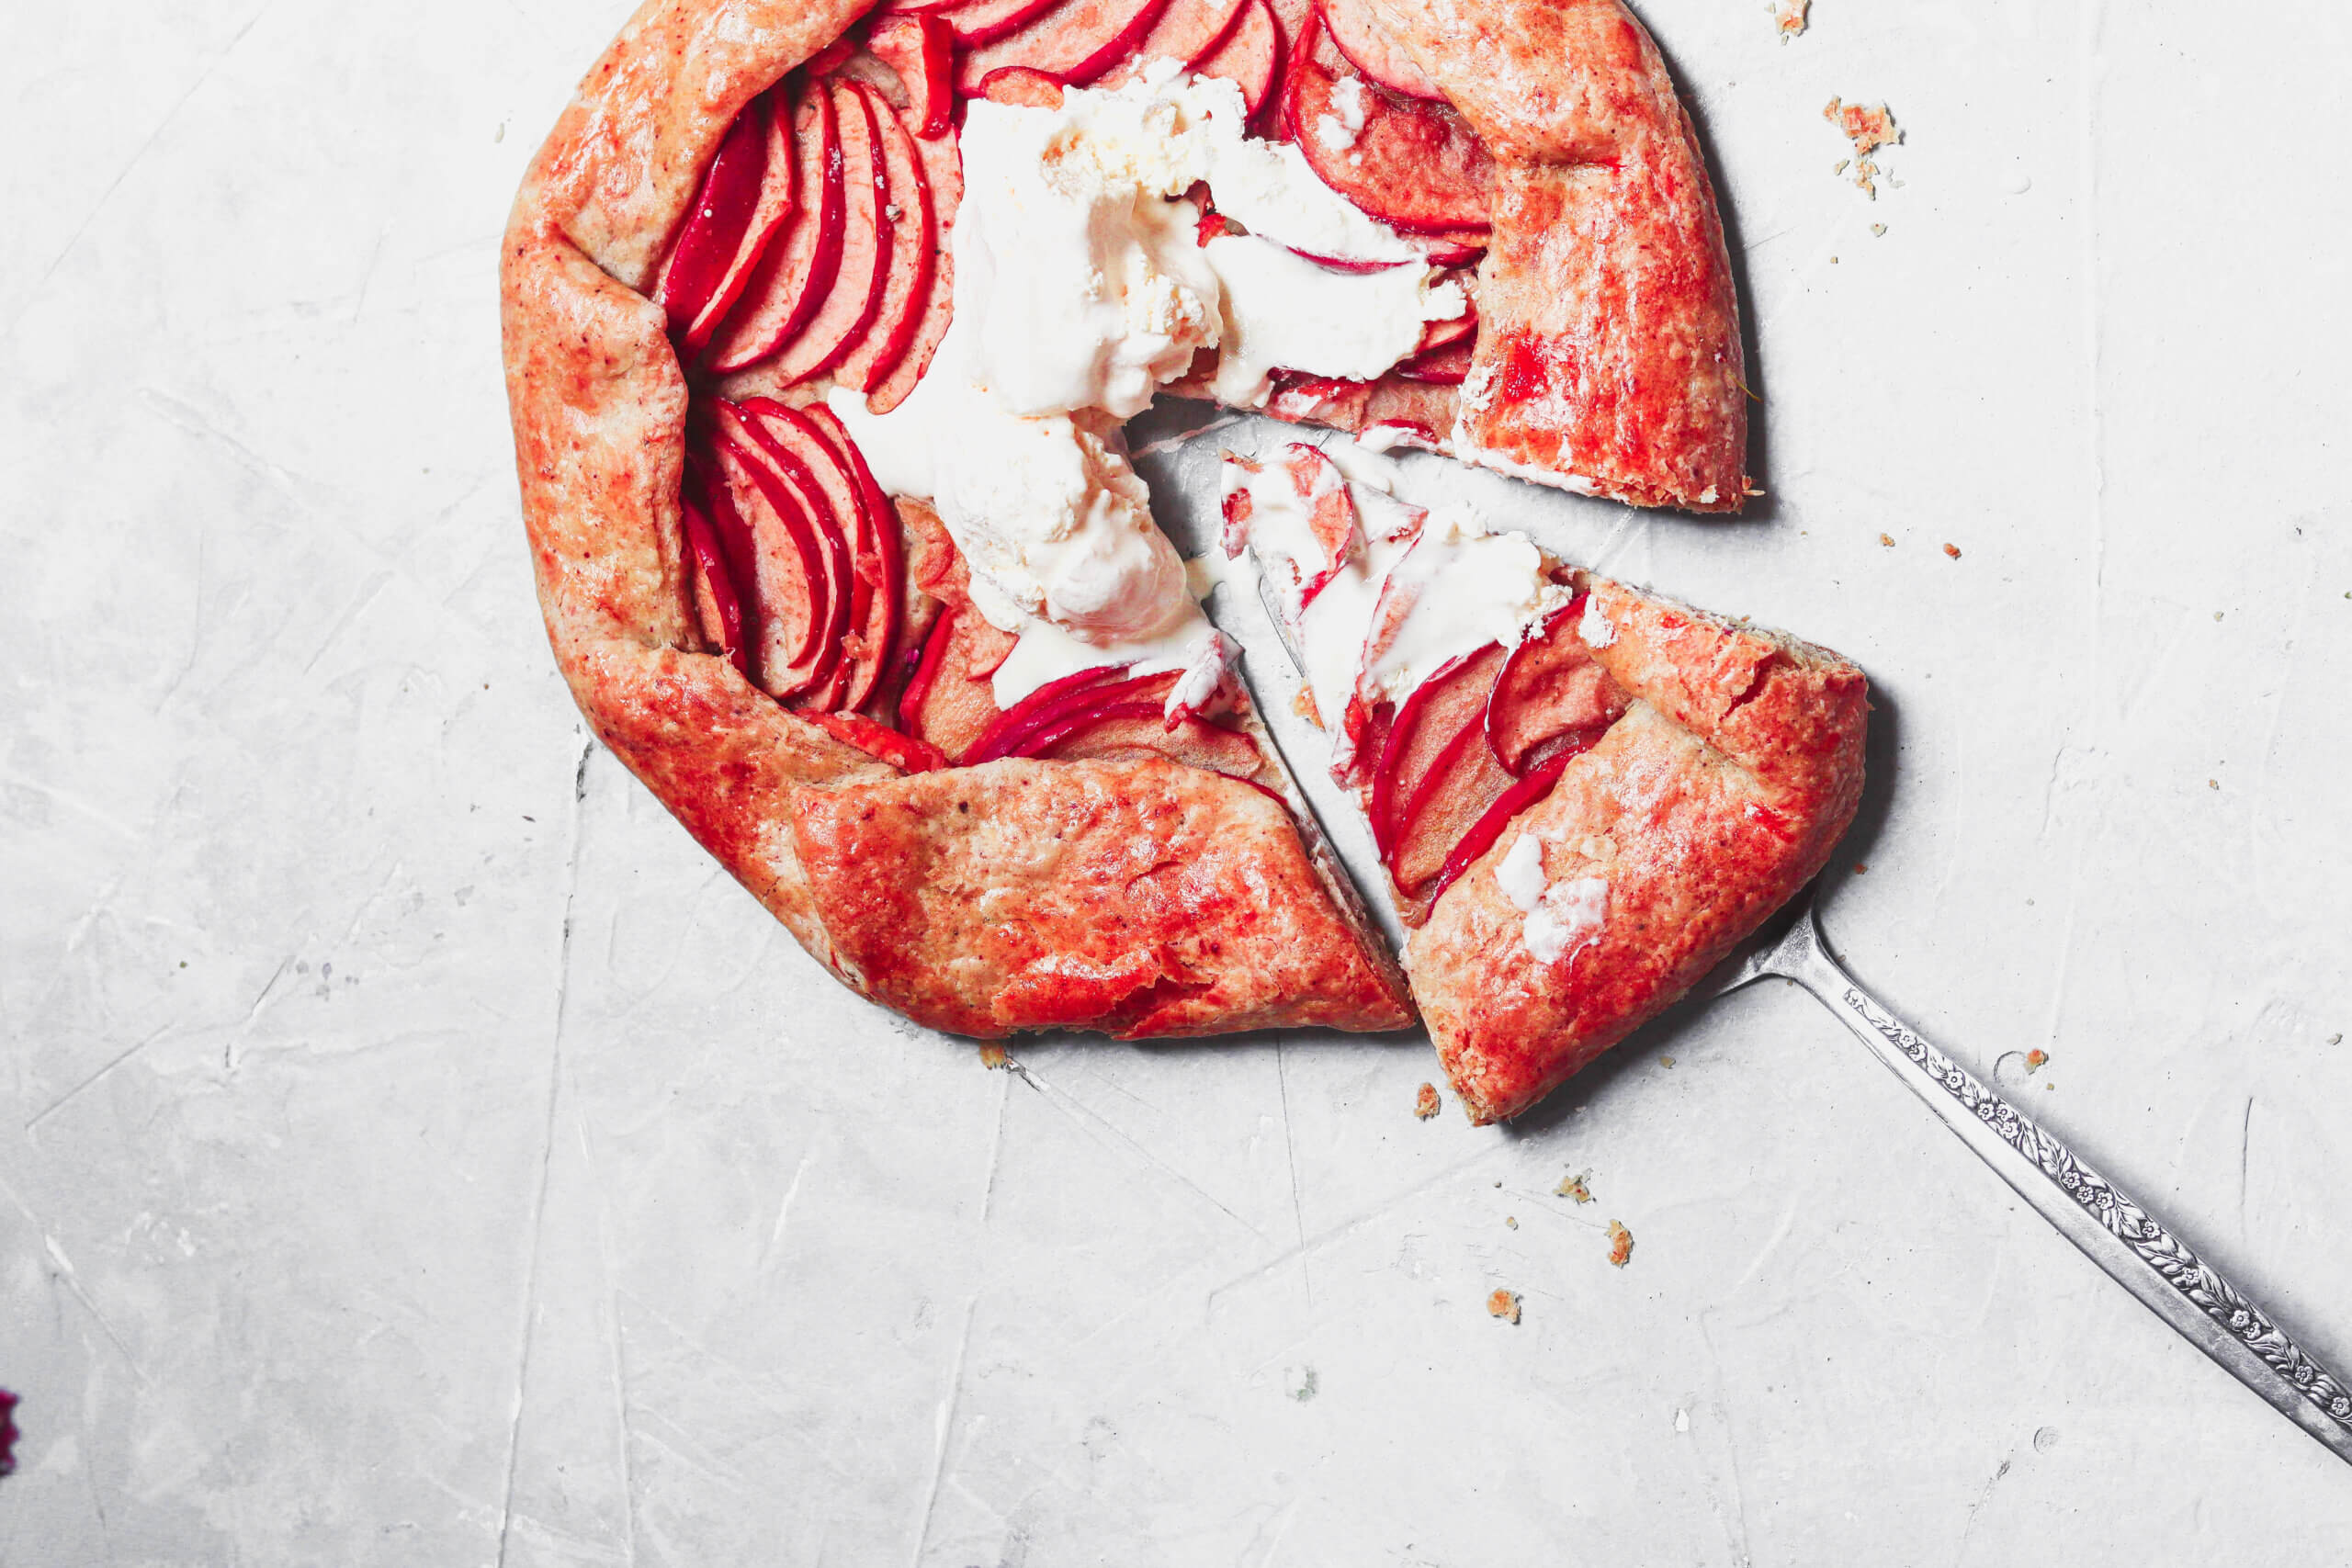
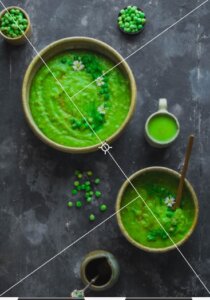
- Natural Lighting is your friend. As a beginner you want to start with natural lighting to understand light. I’ve been using natural light all through and it has taught me how to read light and look and tame light. You want to shoot near a window and the light should be hitting your subject either from the side or the back. In the image below the light is coming from the right side and I’m shooting next to a window.
- Invest in a camera and a lens. I understand that you can take beautiful images with your phone but a camera changes the game. I started out with a phone when I begun food photography and not like the fancy iPhone or Samsung, It was a simple Infinix phone. Once I saved up and bought a camera my images transformed. There’s a way a camera reads light that a phone does not. Don’t go breaking the bank to buy a camera, save up until when you can. Same goes for the lenses. A good lens to start with when you’re ready and have used your kit lens would be the nifty fifty, Canon 50mm 1.8F. I still up-to date use this lens and it works just fine. The left image is taken with a camera while the right is with a phone.
- Learn Camera Settings. Once you invest in a camera, you need to learn the basic settings; ISO, Aperture and Shutter speed. This is a huge topic and it requires a whole blog post which I’ll cover separately.
- Learn Styling and Composition. Composition is the backbone of photography. And there’s so much to learn about styling and composition. I have a free guide that you can download here all about composition techniques you need to be trying out.
- Invest in a tripod. Especially if you shoot alone like I do, a tripod is a must. A tripod will change your photography. You’ll be able to do action shots and a tripod ensures crisp sharp images in low light. Invest in good tripod as it will be holding your camera which is very expensive. A tripod will also help you tell a story. especially when you want to add movement and dynamics.
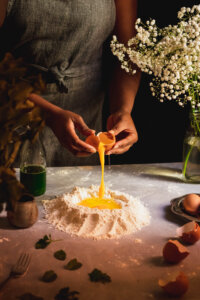
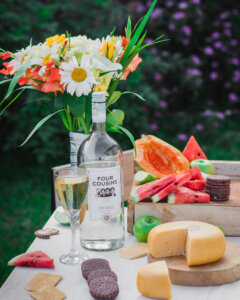
- Have a story before starting to shoot. When I understood how important having a story is, it changed my photography. Before approaching a food scene, it’s good to understand what message you want to portray; do you want to show process shots, is the food going to be consumed by a group of food?
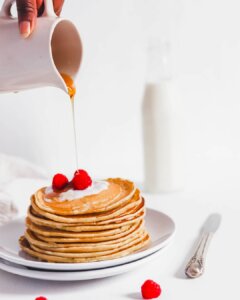
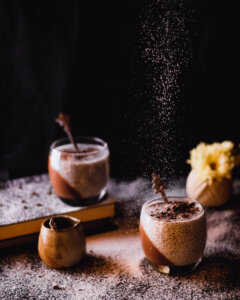
- Use side and back Lighting when shooting. Side and back light are the best lighting angles for food photography. Side lighting means lighting your subject from the side. Move closer to a window and let the light hit your subject from the side. Side lighting works with most food scenes and is the most commonly used. Back lighting means, lighting your subject from the back. It works best with drinks and when you want to highlight the texture of something like chocolate.
- Learn how to edit in Lightroom. To be honest a well lit photo requires little to no editing, but Lightroom transforms your mages. There are settings on it that can take your image from 50 to 100. Learn how to play around with contrast, exposure, saturation, shadows and highlights. Stay away for Instagram filters as they are too strong and not realistic for food photography. Once you learn how to use Lightroom you can progress to photoshop. I use photoshop to do composites that is combining multiple images together.


- Practice practice practice. Nobody becomes a pro by taking one image and waiting. You have to pick up your camera everyday and practice. You’ll discover so many things about lighting and finding your own style.

I hope this beginner’s hope this guide helps you in your food photography journey. Use these tips every time you plan to shoot and see your images improve drastically. Also invest in photography books and resources. I’ve been reading Bea Lubas book on How To Photograph Food and I’m learning soo much.
Love & Light,
Miss Kabaki.