Baking Basic: Baking 101
Do you crave any homemade dessert but you shy away from baking because when you find a recipe you notice that you lack some equipment or sometimes you don’t understand the recipe. I’m hear to help you learn the baking basics and let you in on a few essential equipment that you need to kick start your baking 101.
Most people assume that my kitchen is full of all these equipment because of how much baking I do. The truth is most recipes just require very limited number of items that you probably have in your kitchen. Believe it or not up to date I do not own a stand mixer, I only have a hand mixer that I rarely use since I find that I tend to over mix when I use it. I’ve always rely on a whisk to mix.
Basic Equipment You Need:
- Measuring cups and spoons. These are the most important equipment on this list if you ever want to bake anything. If you don’t own these pause from reading and go get yourself some. I always advocate that you get some measuring cups and spoons as opposed to a measuring scale. The reason is , most of us understand recipes that have ingredients measured in cups as opposed to grams. These are also easier to use and for liquids you can get a liquid measuring cup but it’s not that necessary. When measuring dry ingredients like flour, sugar, baking powder etc. always use a knife or any flat edge to sweep off any excess. You can find measuring cups and spoons from any supermarket but my best place to get them is thrift shopping as I’m always looking for unique ones
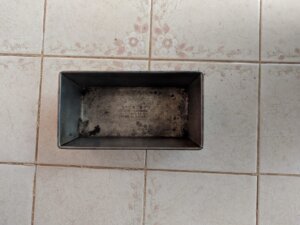
- Loaf Pan – Breads are the easiest cakes to bake and banana bread is my favorite as you can have so may variations of it. Check out this recipe that I did. A loaf pan is a must have for any home baker and a good start to baking breads.
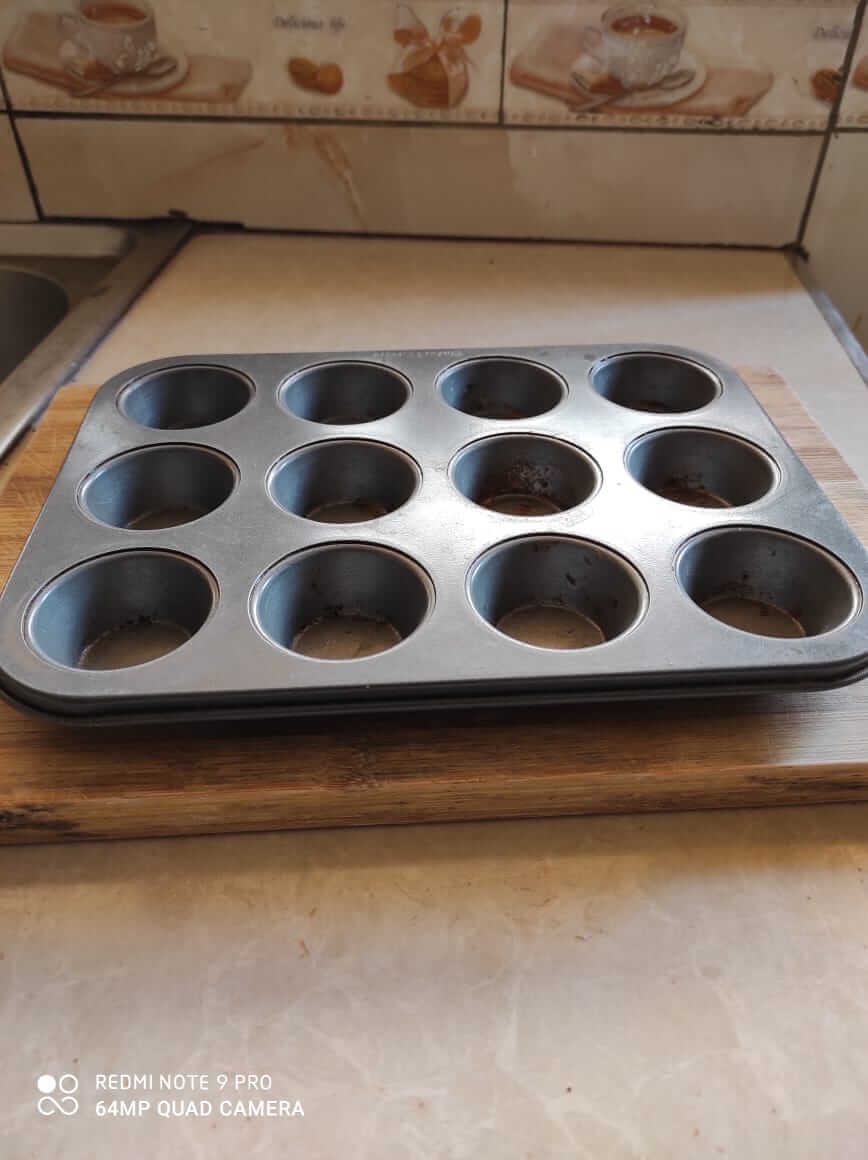
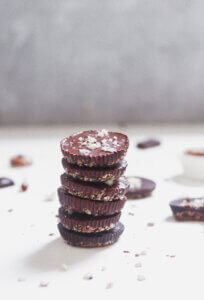
3. Muffin Pan – Cupcakes and muffins are also so easy to make so get a 6 or 12 count pan as it’s so versatile. You can also make some no bake chocolate cups that I included in my Healthy Dessert eBook. These cups require no baking, you assemble everything on a muffin casing and place in your muffin pan then refrigerate.
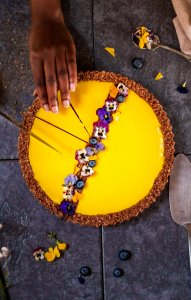
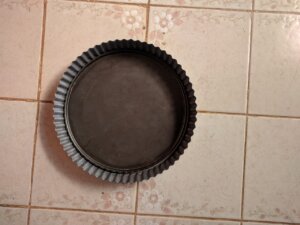
4. Tart Tin– I’m just being biased here because I love tarts and I believe they’re just so beautify and require very little effort. You can either get a 9 inch tart tin or the mini ones that come in 6 pieces and all have movable base. These can be found at Vitu Zote store as they have the best ones. Tarts can just elevate your baking and especially with these no bake tarts they are so easy to make. You make everything and let it set in the fridge overnight.
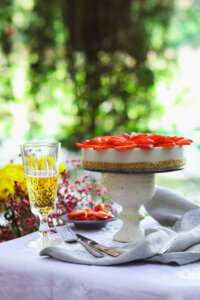
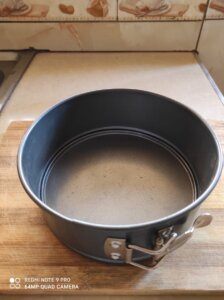
5. Spring foam cake pan – This is so versatile and makes the removal of cakes easier. You can make simple cakes or cheesecakes with this. If you don’t get the spring foam one get 2 to 3 circular cake pans for making layered cakes. I only have one spring foam pan and when I want to make layered cakes i make multiple ones. The spring form pan has a removable base.
6. Whisk – This is sufficient and perfect for combining liquidy ingredients. If you have some extra cash to spare you can get a hand mixer to make work easier but it’s really not necessary. I rarely use mine.
These 6 equipment are all you need to feel confident to bake a few things and if you already have some of these then you’re good to go to try out your favorite recipes. I’ll now take you through some important things to note before you begin baking.
Important Things To Note Before You Start Baking
So you have the equipment you need and you’ve found a perfect recipe to try out. Before you start baking, check out these tips to ensure your baked goods come out as you envisioned.
- Always read the full recipe first before you start mixing things. Be sure you understand what the recipe calls for and if you don’t understand something, a simple google search will help. For example cookies require room temperature ingredients and if you don’t read the recipe beforehand, to remove your butter from the fridge ahead of time then this will delay your baking process.
- Get ingredients and pans prepped. Having your ingredients measured and laid out will save you a lot of time and if you see an ingredient that you might not have try googling an alternative that you can use. Say you’re making a cake that calls for hazelnuts but you don’t have them, you can try any other nuts that you like. Be sure to check if the recipe calls to roast them first but the alternative you have could already be roasted. Also get your pan prepped, if the recipe says to use a parchment paper but you don’t have try other methods like rubbing with oil and dusting with flour. Also a simple google search will help.
- Always preheat your oven – I covered everything you might need to learn how to use your oven in this post here so be sure to check it out. As you measure and prep your ingredients, turn the oven on for about 10 minutes to whatever temperature you’ll be baking at. Say if you bake at 180 C, preheat oven to 180 C for 10 minutes. The heat will be well distributed and your oven will be ready to bake.
- Take note of the temperatures of your ingredients. For example if you’re baking a galette recipes will call for cold ingredients; cold butter, water and dough but something like cookies most recipes will want room temperature ingredients. So be sure you read the recipe to know what temperature your ingredients need to be.
- Always follow the order. What I mean is follow the order of how the ingredients are mixed together and this comes by reading the full recipe beforehand. Do not throw all the ingredients together in order to prevent things like clumping or curdling. As a general rule, dry ingredients like flour, baking powder, salt are mixed in one bowl while wet ingredients like milk, eggs, sugar are mixed in another bowl. Then the dry ingredients are gradually combined and mixed to the wet ingredients. Double check the recipe and follow the right order. Again read the recipe beforehand.
- DO NOT overmix – There’s a really thin line between combining ingredients and over mixing. I know sometimes we get obsessed with trying to mix everything together until you can’t see any flour but we end up over mixing. It’s okay to leave a few flour lumps especially when making a cake. Overmixing will make your cake come out dense and heavy . If your cakes always come out very dense now you know why.
Be sure to check out this post on reading your oven as I’ve also shared some important notes like not opening your oven before the cook time is over. I hope these tips will help you become more confident in the kitchen with baking. If you’re still struggling to find recipes that work or you understand I’ve shared so many baked recipes and I also have a Healthy Desserts eBook that you can purchase, on the website.