How to Make Your Own Sourdough Bread Starter at Home
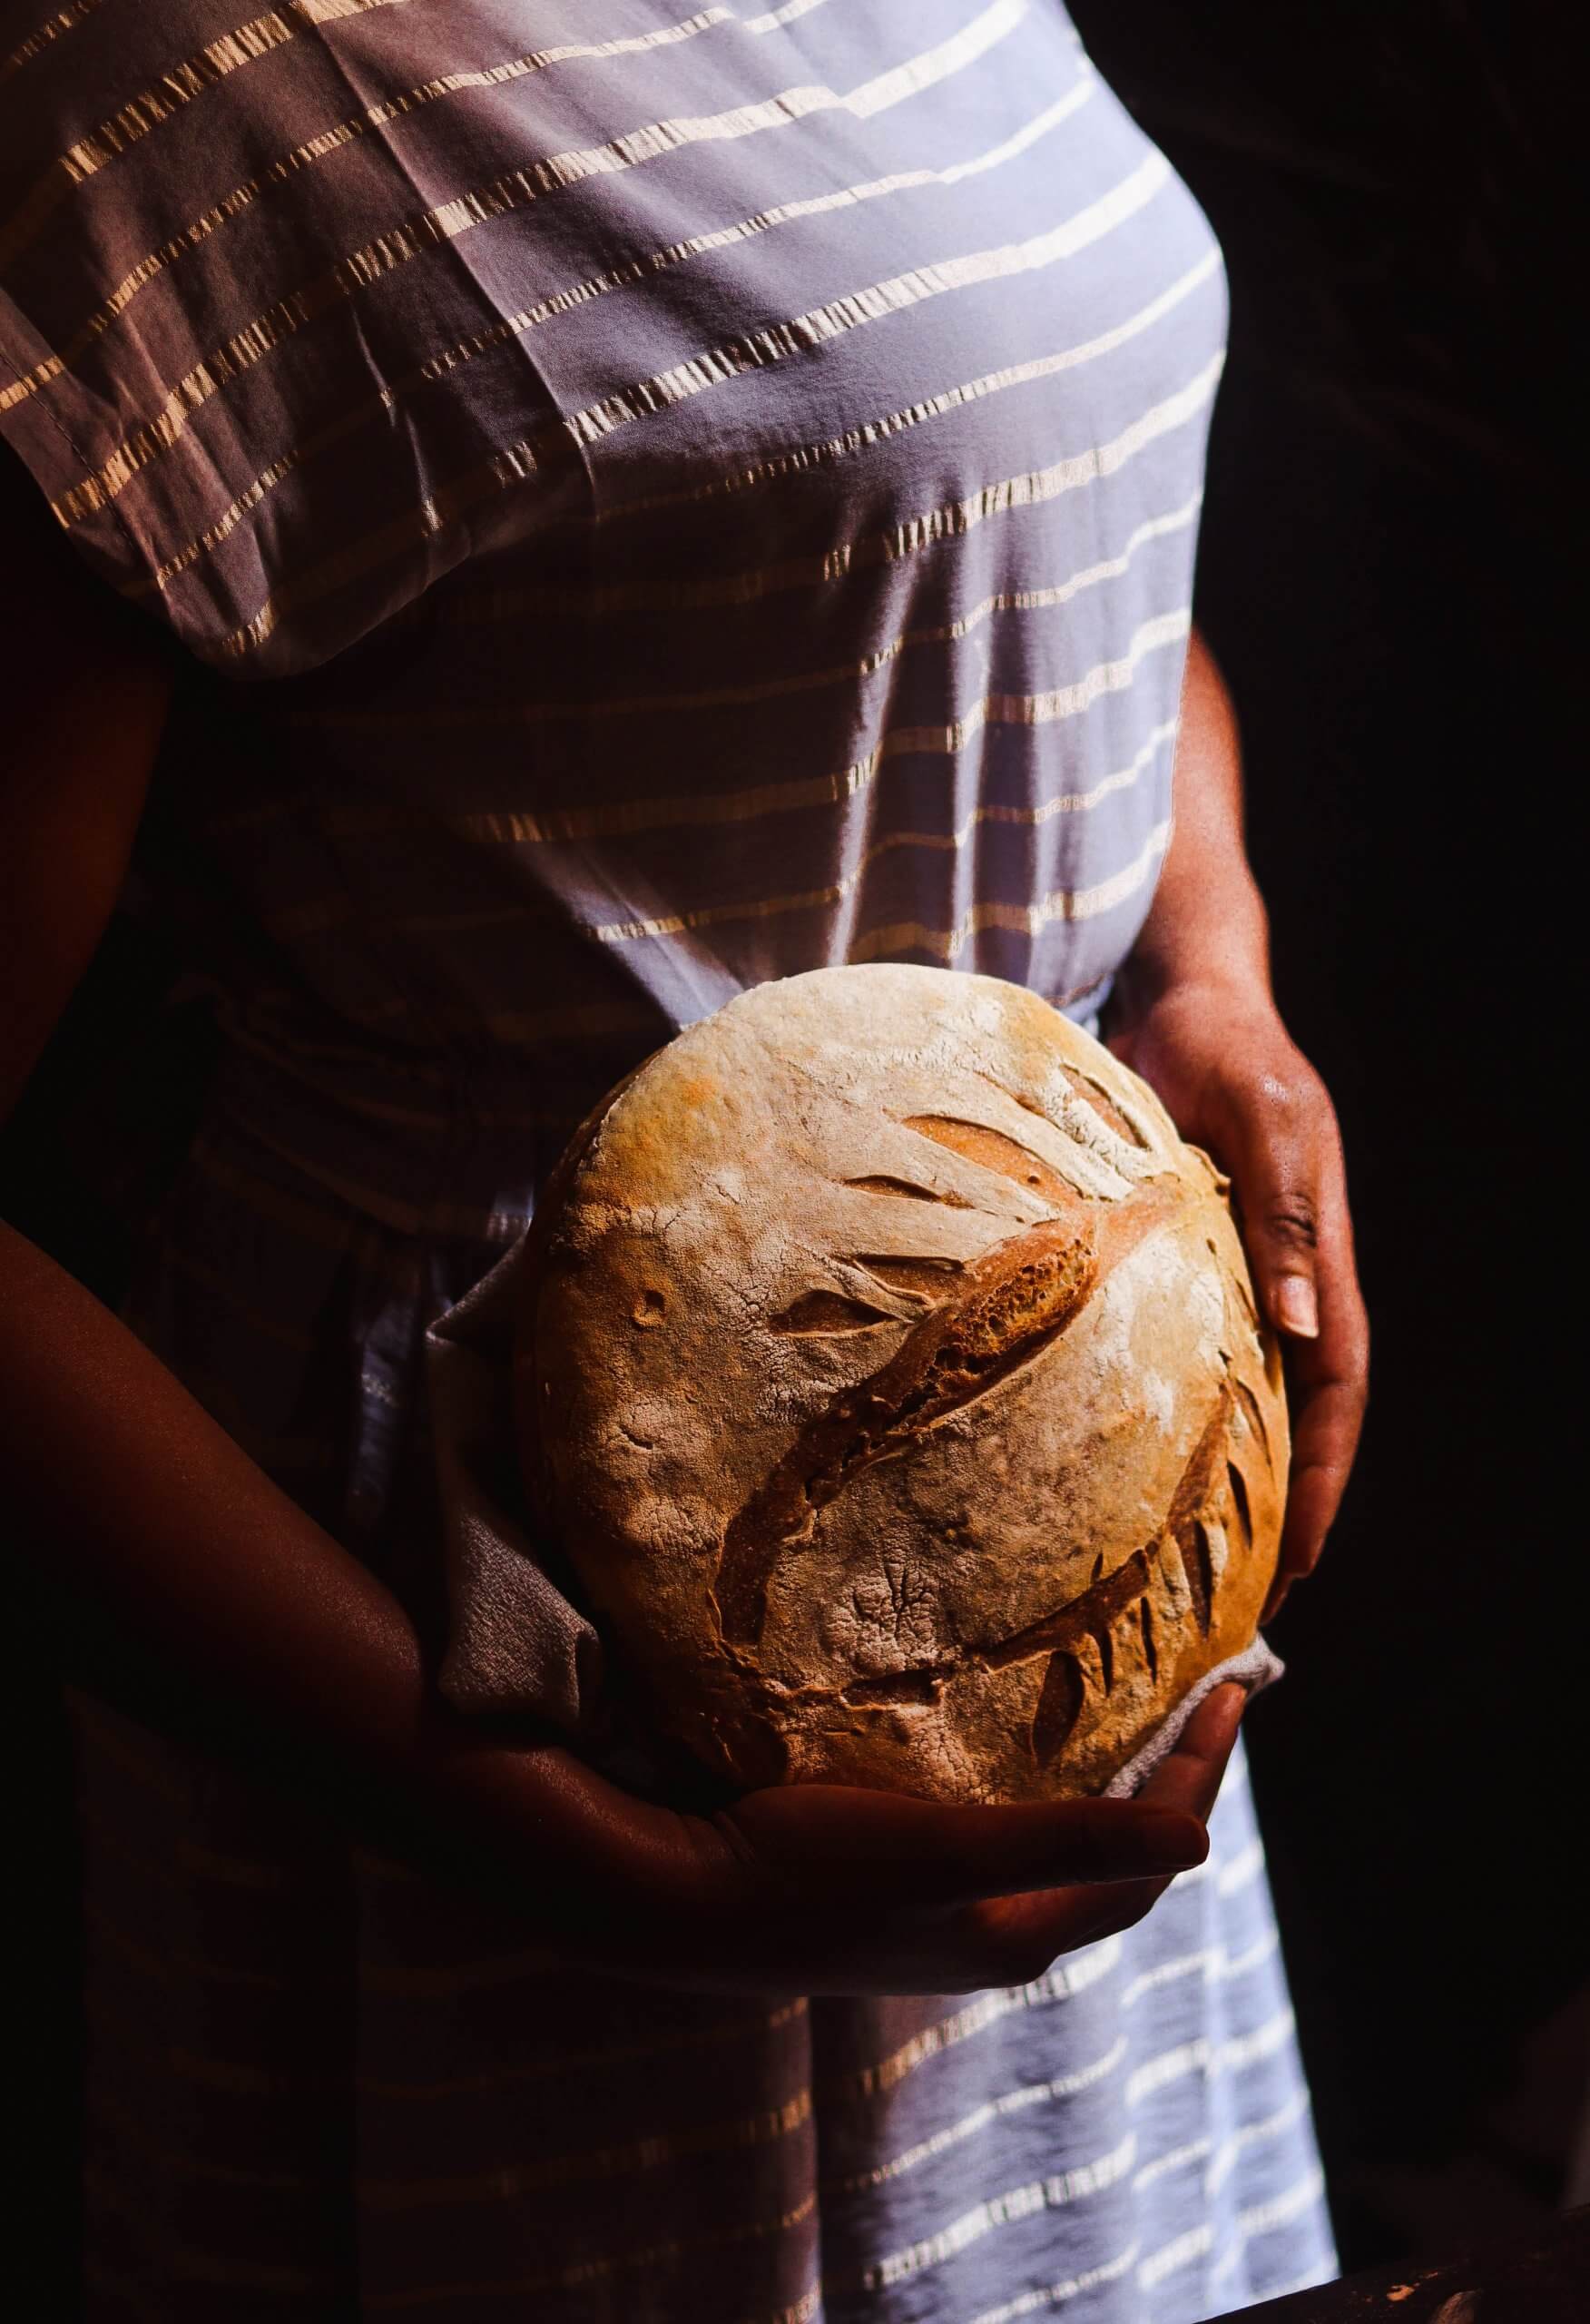
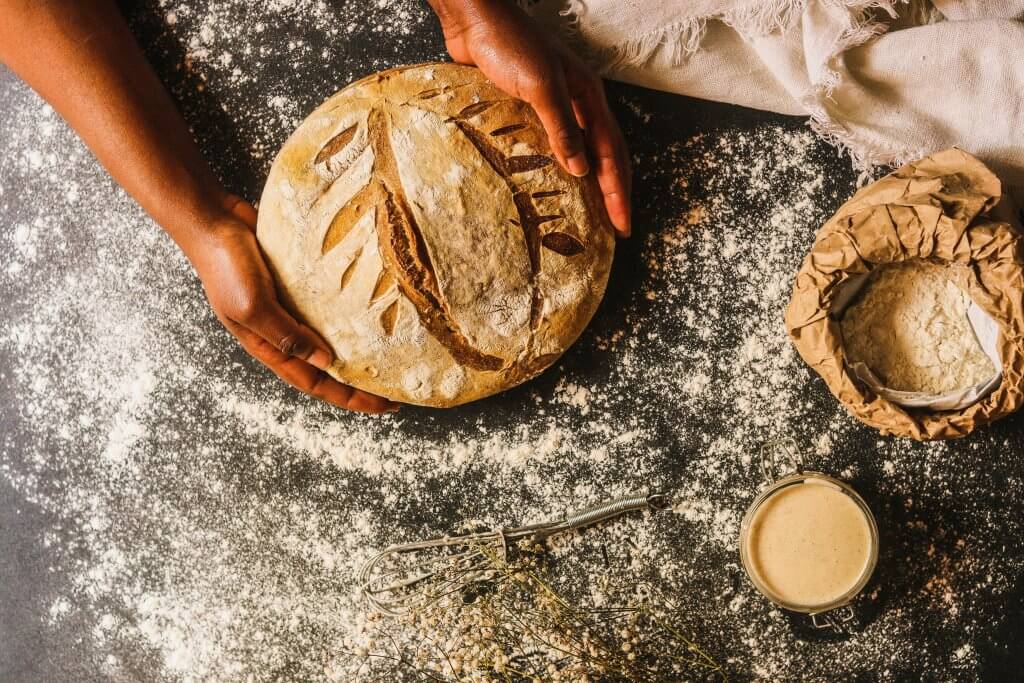
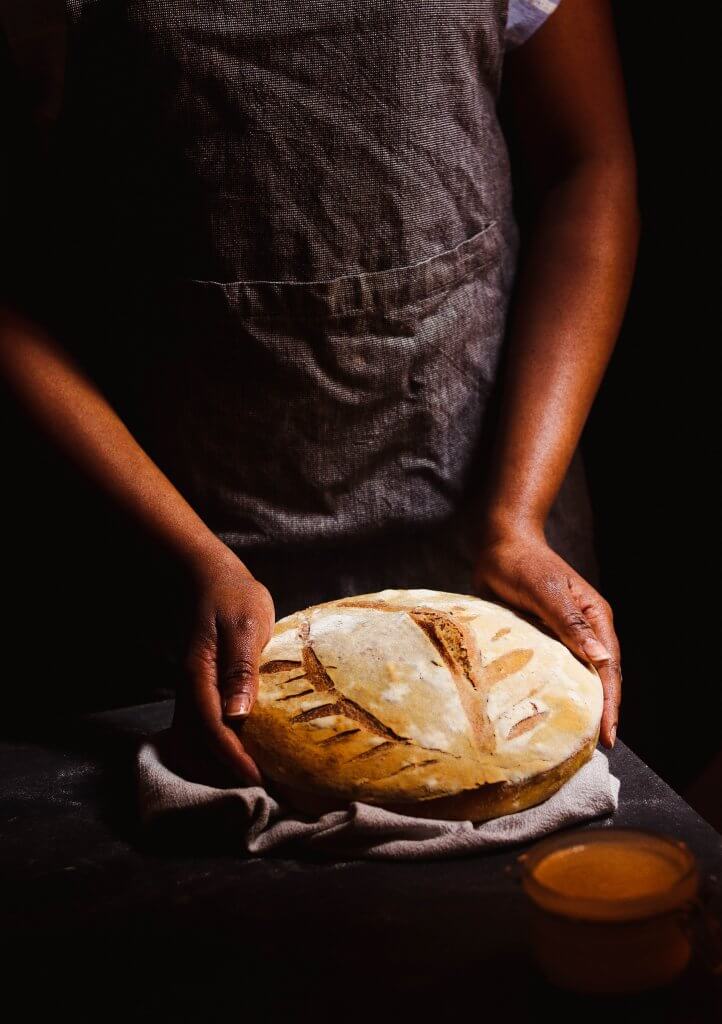
Not many of us are lucky to have sourdough bread starter at home but making your own is actually quite easy. This Quarantine period has taught us home bakers how to get out of our comfort zone. During the lockdown, I decided to try the infamous sourdough bread. Although I did not have any sourdough bread starter I did not let that discourage me. To be honest this recipe will test your patience. The amount of precision that is required is quite divine. It was my first time making sour dough starter as well as bread and if I made it through you too can.
How to make the Sourdough Bread Starter at Home
What is a Sourdough Bread Starter?
Think of the starter as the yeast but instead of buying a packet of yeast from the store, you’ll be making your own living “wild yeast” by fermenting flour and water. Wild yeast lives in everything; the air, in our flour and on the surface of grapes.
The easiest way to make sourdough starter is by combining flour and water and letting the mixture sit for several days. After a day or two bubbles will start to form indicating that the wild yeast is starting to multiply and become active. To keep the yeast alive we feed the starter with fresh flour and water over the next several days, until it gets bubbly.
All-purpose Flour or Rye Flour?
During the starter recipe testing stage, I used both All-purpose flour and Rye flour. I found out that the rye flour worked best, the yeast grew incredibly fast. While I was researching how to go about making the starter, most recipes advised to use all-purpose flour as it responds better. I however didn’t get good results with the all-purpose flour and could be because of a number of reasons; stale flour or how I stored it.
How to Make Sourdough Starter
Equipment
- Glass jar
- Measuring cup
- Mixing spoon
- Kitchen towel
Instructions
Day 1-Initial Starter
- Measure 3/4 cup plus 2 tablespoons of rye flour and 1/2 cup water. Mix together well. Scrape the sides and cover loosely with a kitchen towel.
- Place the jar on the kitchen counter at room temperature and let it sit for 24 hours.
Day 2: Feed the Starter
- Measure the same amount of flour and water as day 1. Check your starter, you might see some bubbles. If you don't see any bubbles don't panic, depending on the temperature in your kitchen your starter might be slow in getting started.
- Stir the flour and the water into the starter and combine well. You should have a thick batter. Scrape down the sides and cover loosely with a kitchen towel. Store on your kitchen counter for another 24 hours
Day 3 and 4: Feed the Starter
- Do the same thing for each of these days and let sit for 24 hours
- You'll notice the starter has risen or grown in size
Day 5: Starter is ready
- By this time the starter will have grown incredibly from the last day. It will have a strong smell and have a lot of bubbles.
- In case for some reason your starter doesn't seem to have grown continue with day day 5 and onward instructions below.
Day 5 and Onward
- Measure 3/4 cup + 2 tablespoon flour and 1/2 cup water
- Once your starter is ready and you might not want it to bulk up, discard half of it and add the new flour and water. Mixing well and scrapping the sides
- If you're going to need to use your starter in a few days, leave it on your counter to grow. If not cover it and store in the fridge. This will slow down the starter. When you require to use it, remember to take it out and feed it a day or two before using.
